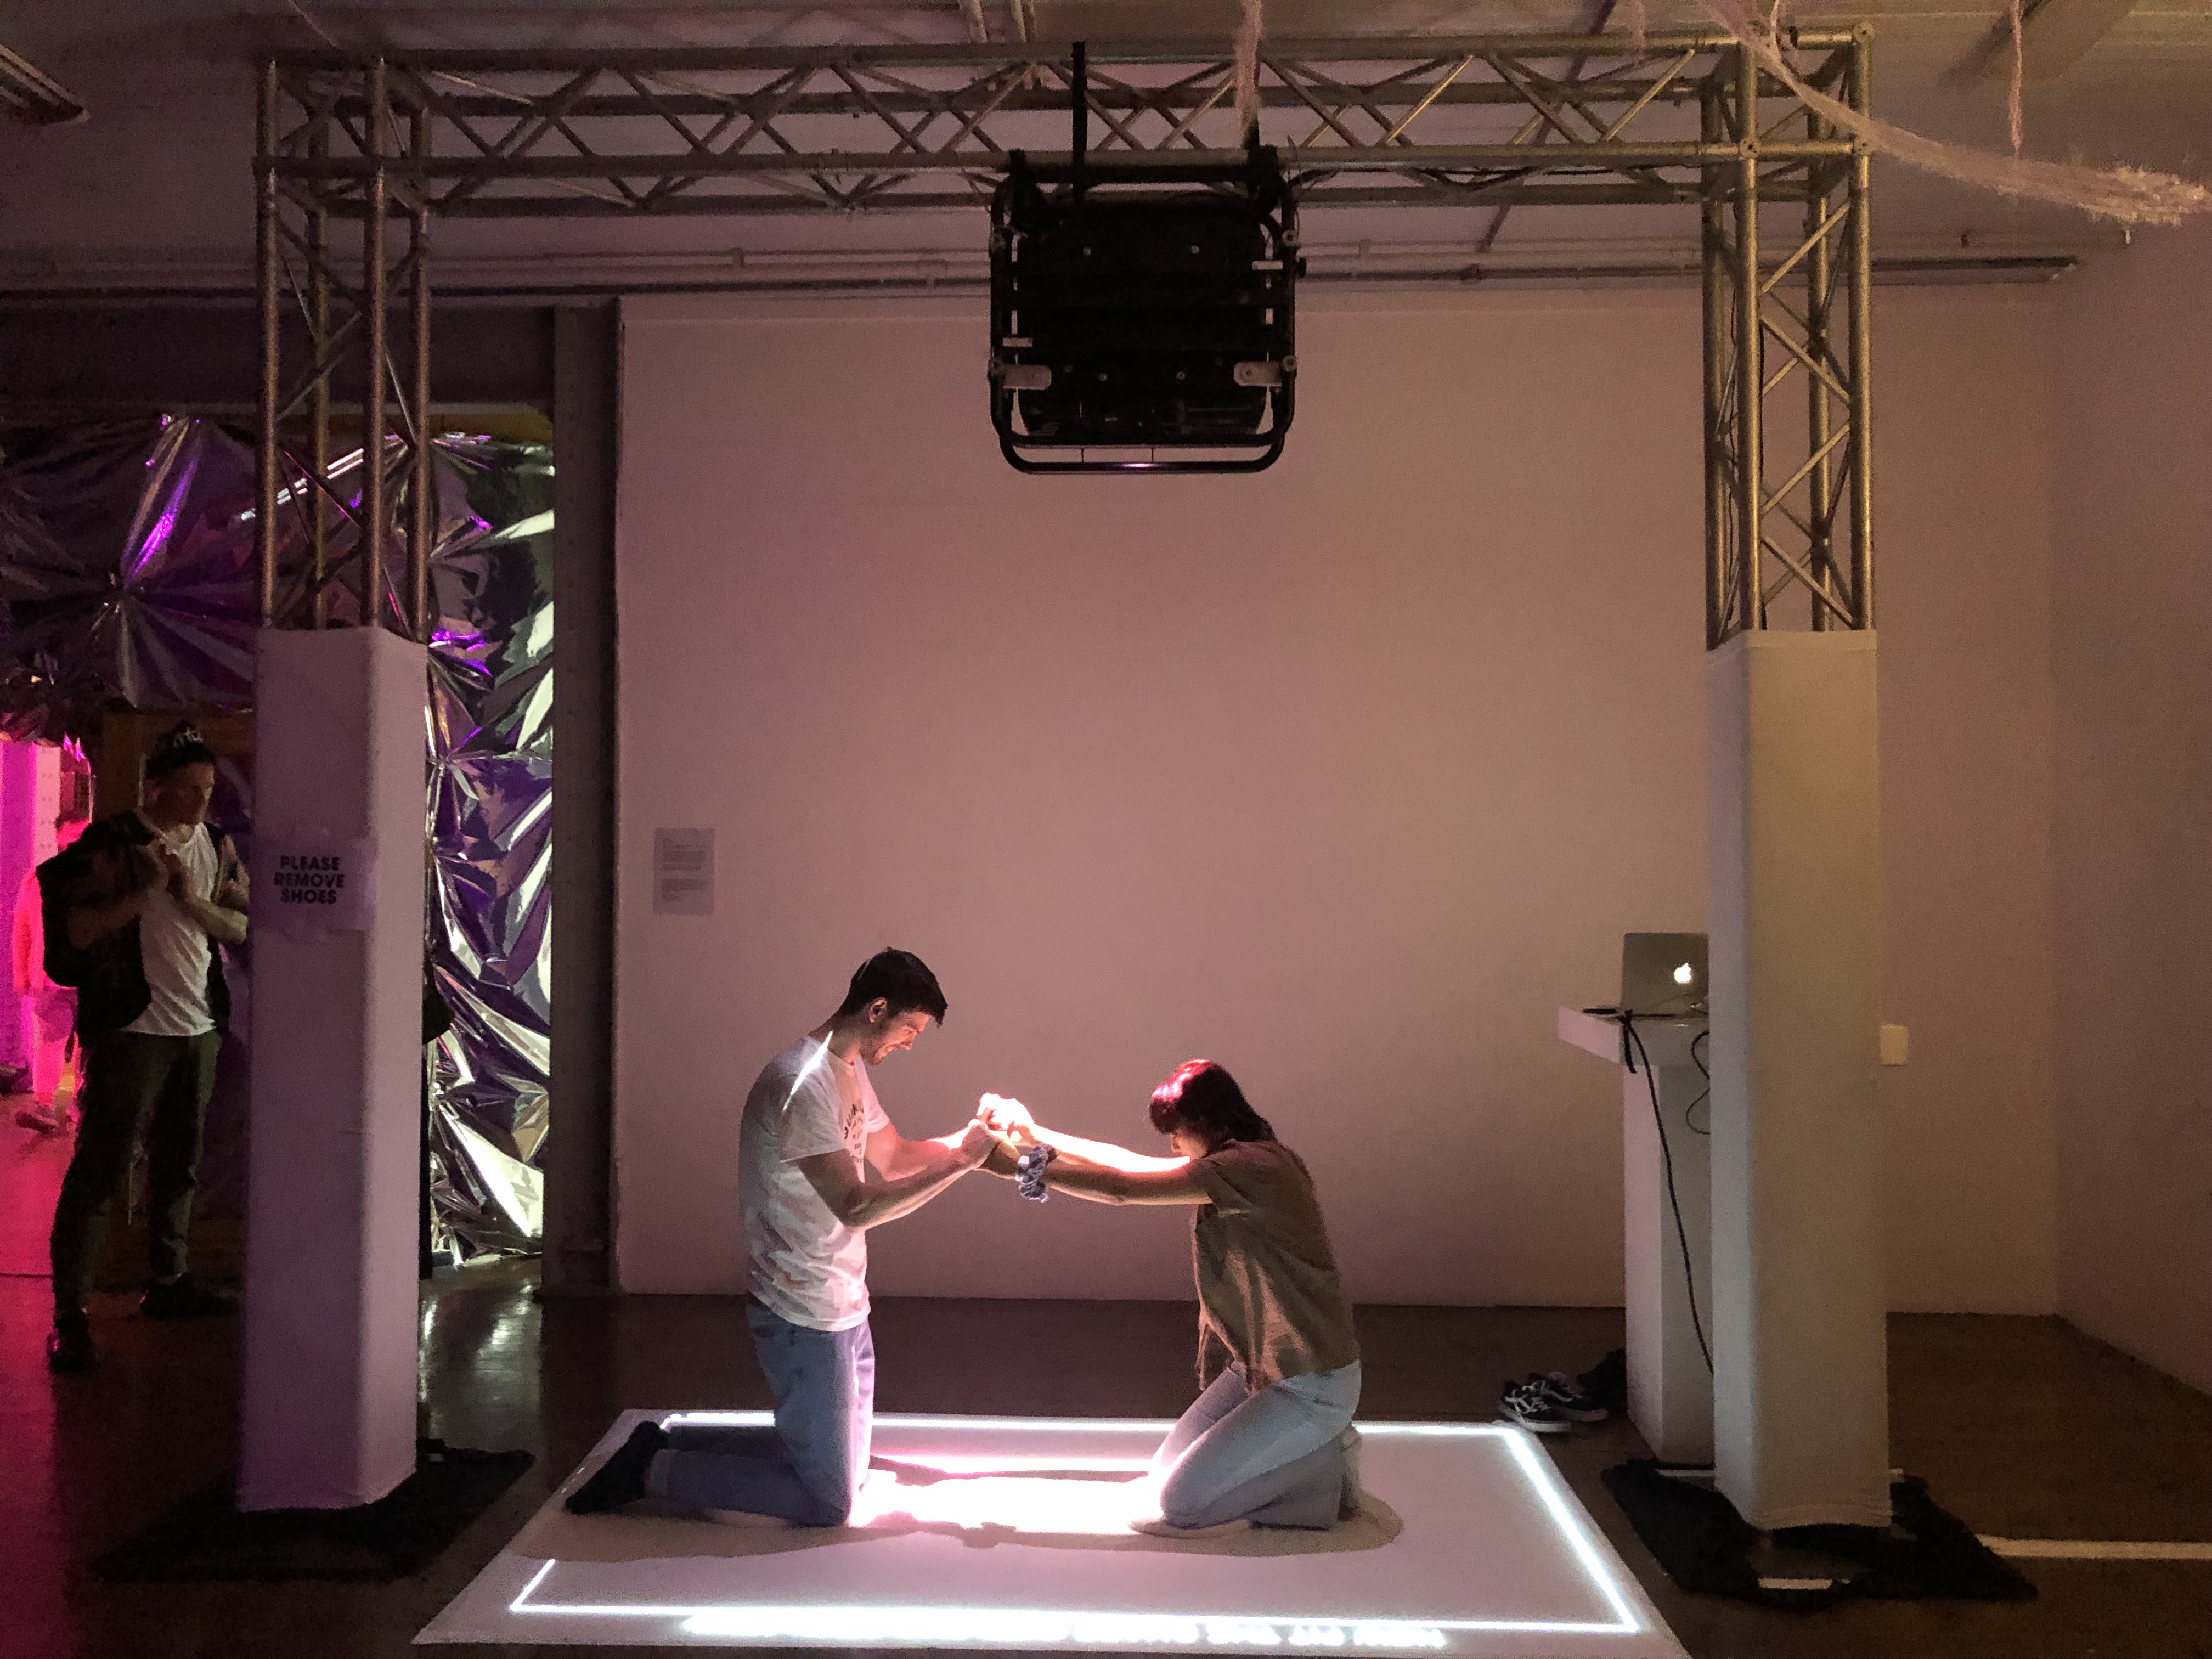
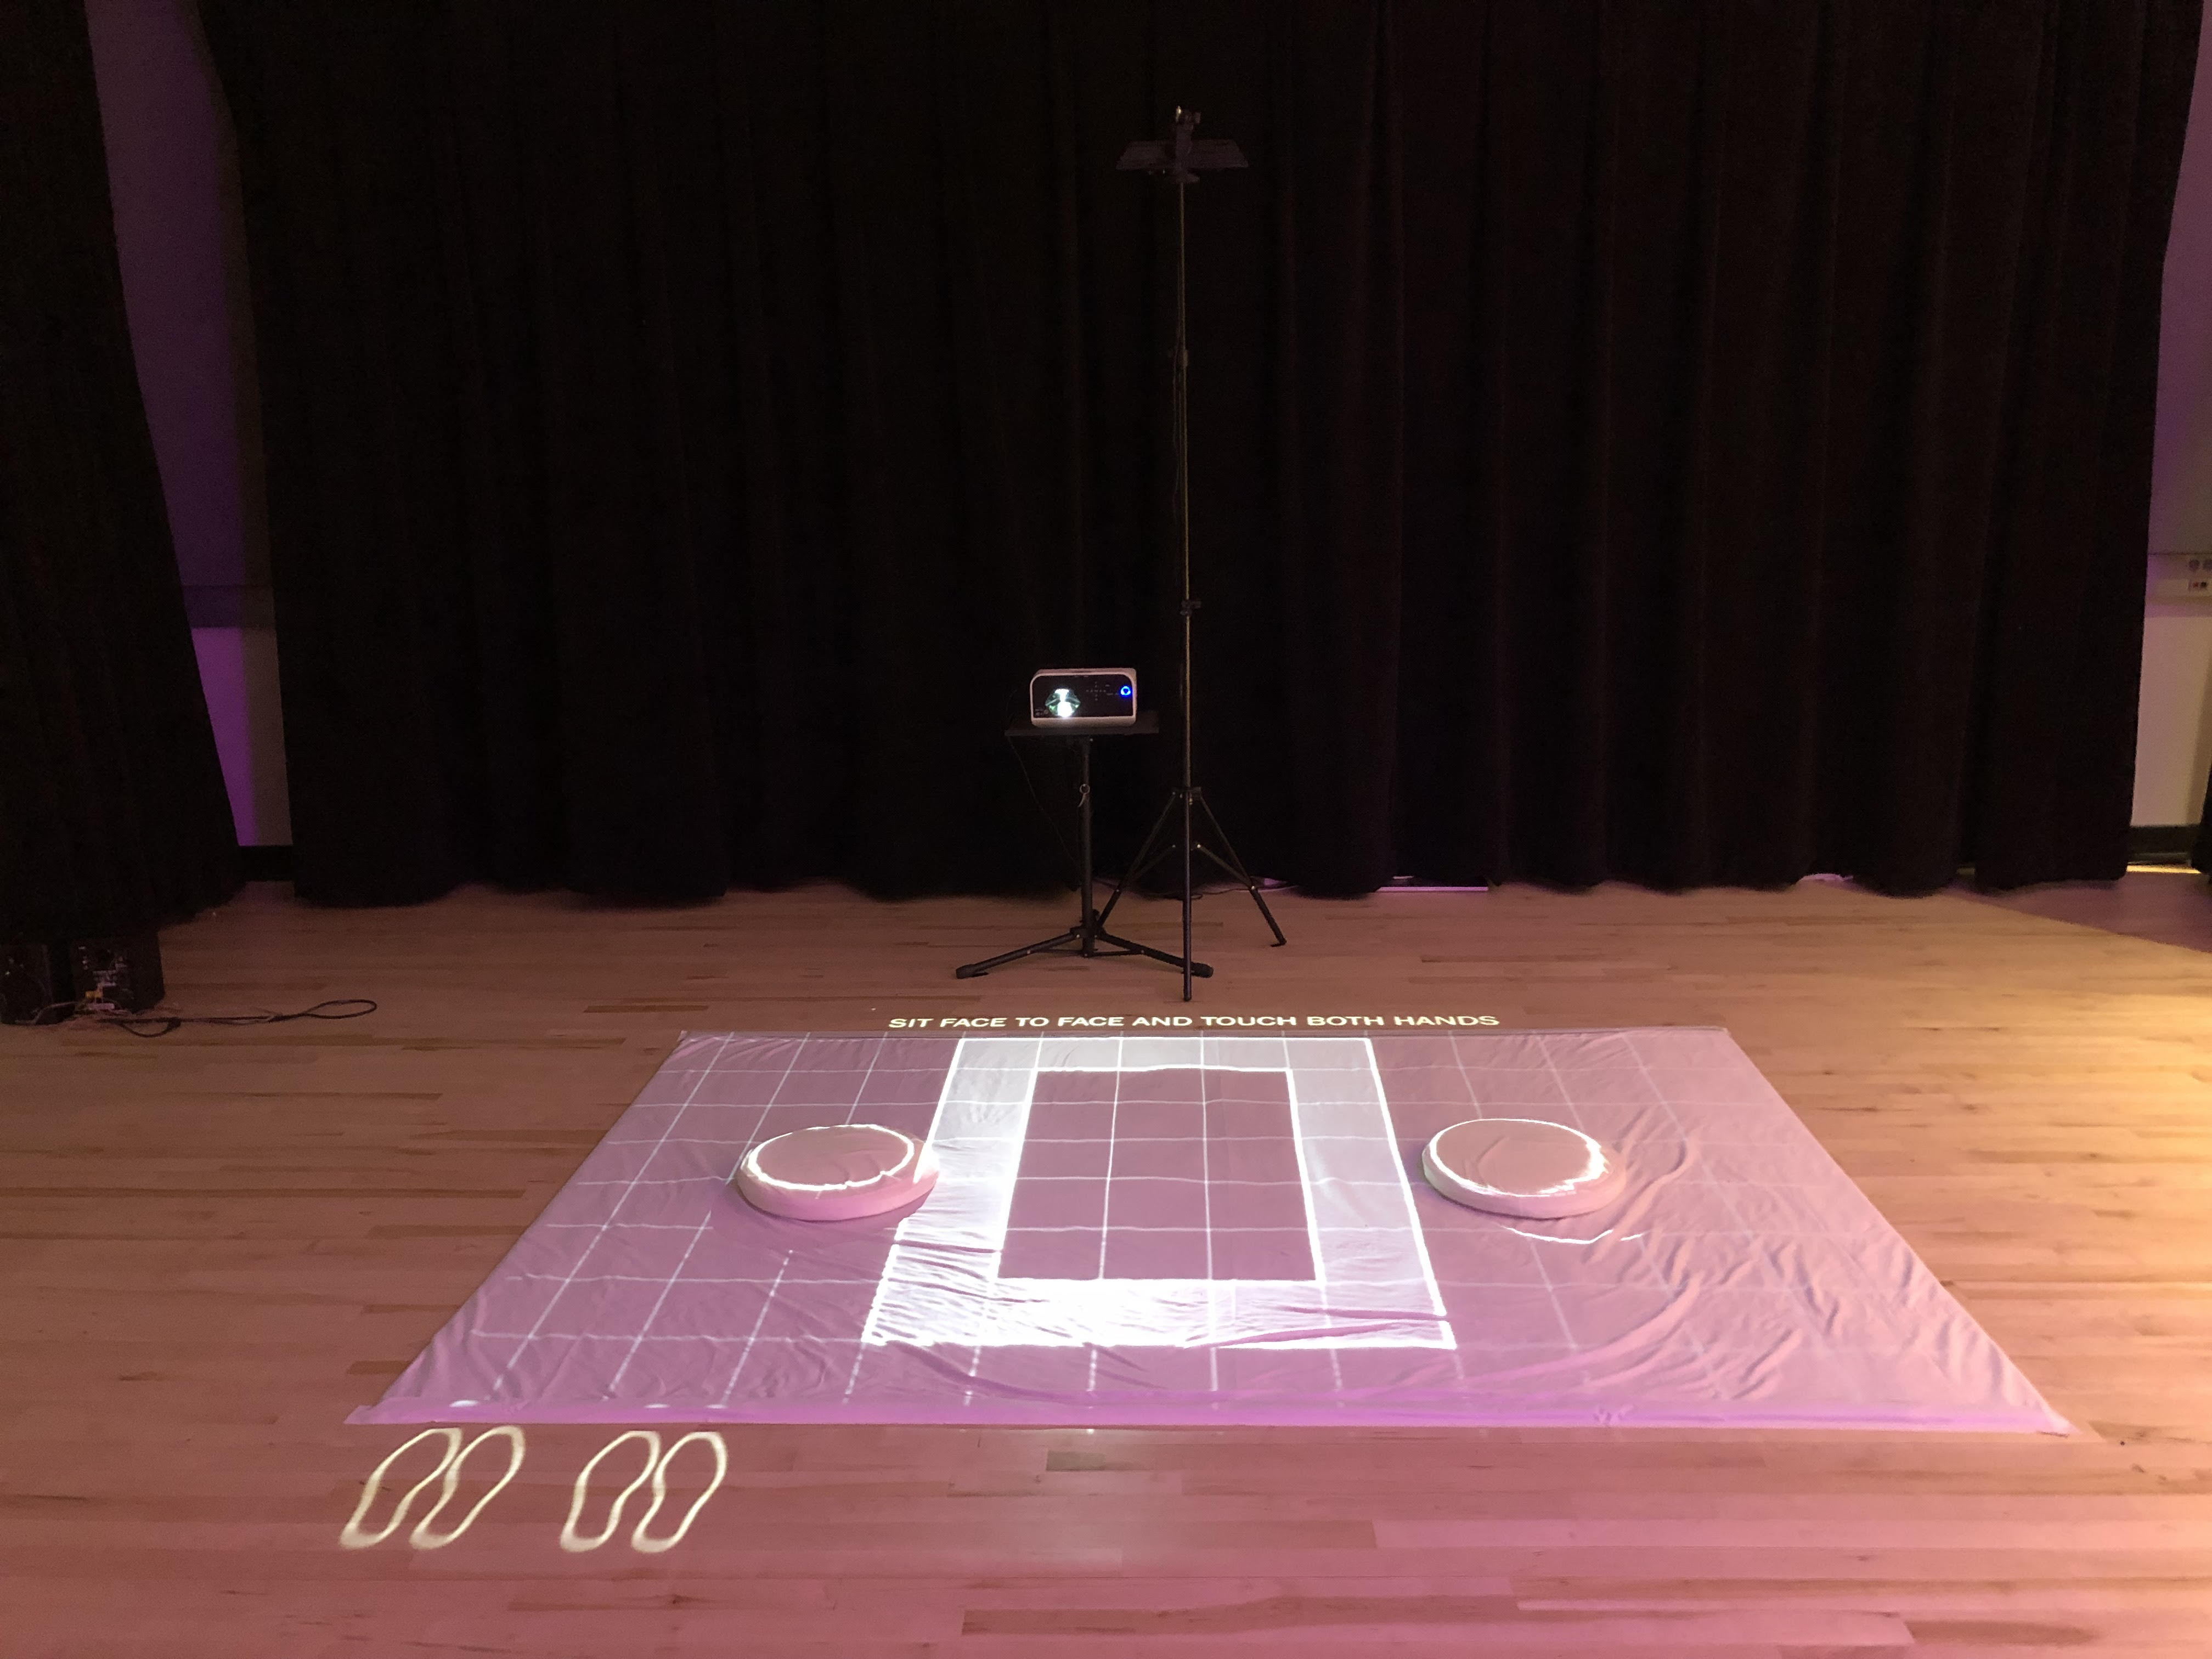
These are technical and physical setup instructions for the installation Between.
Main page for the artwork: Between
Video Documentation
Setup Instructions
Equipment
– Macbook Pro running Xcode 13.1 with OpenFrameworks (Artist can bring)
– Xbox Kinect v1 (Artist can bring)
– Short throw projector that can project on the floor
– 2 seat cushions
– Projector screen (5′ by 7′) (optional)
– Tape
– Cable zip ties
The links are all suggested models. Different equipment can be used.
You’ll need to mount the projector and Kinect so that the projector can project a 5′ by 7′ image on the floor, and the Kinect camera can capture the full image play area. I’ve done this multiple ways, mounting the projector and Kinect onto:
Truss

Wire shelf

Tripod stands

If the projector can’t point down, you can also mount a mirror to point the image onto the floor.
Installation
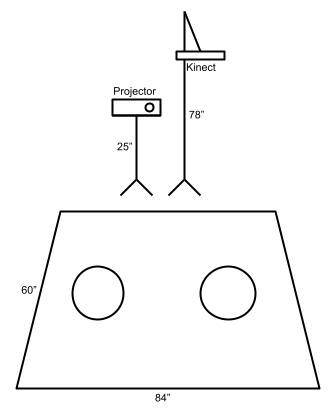
This diagram shows how to mount the projector and Kinect onto tripods. As described above, there are other ways to mount these, as long as the projector projects a 5′ by 7′ image on the floor, and the Kinect can capture all of it.

Surface Setup
1. Lay out a white surface. This surface should be approximately 5 by 7 feet, but it can vary.
2. Optional: I made the surface soft by covering a rug with a projector screen. Make sure the surface lays flat even if people step on it.
Laptop Setup
1. Connect the laptop to a power source.
2. Connect the projector to your laptop.
3. Connect the Kinect to your laptop via USB (with an extension cord if needed).
4. Connect the Kinect to a power source.
5. Make sure the program is ready to run in OpenFrameworks on your laptop.
Projector Setup
The projector should project on the floor, with dimensions of about 5 x 7 feet. This can be done in several ways. The following instructions are one way to do this (mounting on tripods), but not the only way.
1. Place one shorter tripod stand at the back of the projection surface. This stand should be about 25 inches tall.
2. Place the projector on the tripod stand.
3. Connect the projector to your laptop and to a power source.
4. Turn on the projector. Calibrate it so that the projector image matches the dimensions of the physical surface.
5. Place the 2 cushions on the projected circles.
Kinect Setup
The Kinect should point down towards the floor and capture the whole projection and play area. Again, the following instructions are one way to do this, but not the only way.
1. Attach the Kinect to the tripod arm with zip ties. The Kinect will be pointing downwards at an angle, pointing towards the floor.
2. Place the other taller tripod stand at the back of the projection surface, to the right of the other tripod. This stand should be about 78 inches tall.
3. Attach the tripod arm (with the Kinect) to the top of this tripod.
4. Run the program in OpenFrameworks. Calibrate the Kinect so that its camera covers the entire play and projection surface.
5. Calibrate the application so that the projected shapes align with people sitting on the floor.
The Kinect’s contours should detect the outline of a person. Test this by having people sit on the projection surface. Calibrate the near and far thresholds in the GUI.
The silhouettes that project onto the floor should roughly align with a person’s body. Calibrate the ROI and FBO positions.
While the application is running, you can press 1, 2, 3, and 4 on your keyboards to toggle between: video, depth, threshold, and contour images.
These are the relevant parameters you can control in the app’s GUI:
– ROI X/Y/W/H: Region of interest. This is the region that the Kinect will detect silhouettes in.
– FBO Left/Top: The position of the entire video image.
– Shape FBO Top/Left: The position of the projected silhouettes. These are meant to align with peoples’ bodies.
– Near threshold/far threshold: Thresholds on either end at which the Kinect will detect an object.
Playing Manual
1. Two players sit face to face to face on the cushions.
2. They hold both hands to create a geometric shape between them.
3. They must move their arms to guide this shape to fill outlines on the floor. Each outline is a rectangle with an inner and outer bound. The shape’s visible bounding box must fall within these bounds.
4. When they fit the target outline, a new target outline appears. They must move their arms again to fit this new target.